Dog owners treat their dogs like their babies and they always look for personalized stuff for them. A custom dog collar can be a great product you can sell online. If you have knowledge of sewing, making a dog collar would be easy for you.
Here are the materials you’ll need:
- Fabric
- Nylon Webbing
- Triglide Slide
- D-Ring
- Contoured Side Release Buckle
- Iron
- Sewing Machine
- Measuring Tape
- Spray Starch
- Scissors
Here are the steps in making a custom dog collar:
Step 1: Cut the Fabric
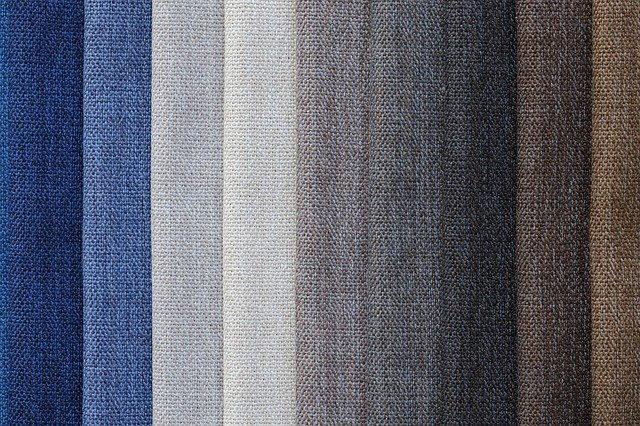
When measuring the length of the collar, you have to add around 20 inches for the size of the fabric because the finished length would be a lot smaller.
Step 2: Cut the Webbing
Measure and cut the webbing. The webbing’s length should be around 10 inches shorter than the fabric. When the webbing is already cut, be sure to heat the ends to melt the fibers together. This will prevent it from unraveling.
Step 3: Prepare the Fabric
Before sewing the fabric, you have to prepare it properly first. Spray starch on the fabric and go over it with hot iron. Starch is needed because it stiffens up the fabric so you will have an easier time handling it. You also have to remove all wrinkles on the webbing.
Step 4: Sew the Tube
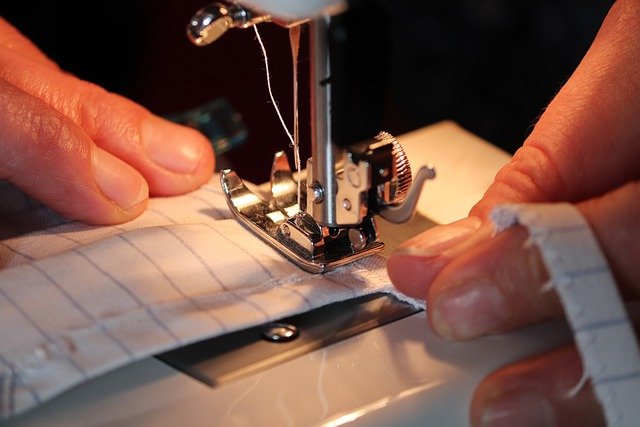
When your fabric is all set, you can set up your sewing machine. Sew the entire length of the fabric into a long tube. You are going to insert the webbing inside the tube. Make sure that you sew on the inside of the fabric to make it look seamless and hide the stitching. You also have to make sure that your tube is large enough to make it easier for you to insert the webbing inside.
Step 5: Turn the Tube Over
Cut the excess fabric before turning it over. This will make it easier for the webbing to slip inside the tube.
Step 6: Insert the Webbing
Inserting the webbing is easy if you were able to properly follow the steps above. Once the webbing is completely inside, you have to adjust the fabric so the edge of the webbing and the seam are aligned.
Step 7: Sew the Fabric and Webbing Together
Before sewing them together, you have to spray more starch on the collar and go over it with hot iron so you can sew them easily. You also have to make sure that the thread will go through both materials.
Step 8: Add the Buckle and Tri-glide
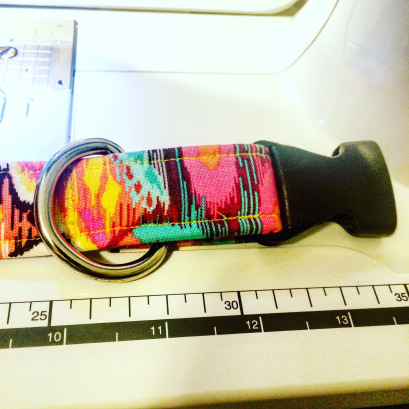
After the seams are added on both sides, you can then add the tri-glide to it. You have to weave the tri-glide through the collar. Leave around an inch on one of the sides so that you can loop it back together. The best stitch to use to sew up the tri-glide is the box stitch. The next thing to do is add the male end of the buckle to the collar. You have to insert both the webbing and fabric inside the slot. Pull it up to the tri-glide and weave it.
Step 9: Add the Ring and Other Buckle
Make sure that the end of the buckle is locked up in a loop made up by the tri-glide and the collar. The next thing to do is to slide the collar on the D-Ring. The placement of this piece isn’t that important, so you don’t have to worry. Then you will take the female end of the buckle then slide it right up to the preferred length. Do a triple stitch to secure it in place.
Step 10: Finish with Box Stitch
Slide the D-ring to the latest triple stitch you made and then sew everything up with a box stitch. Don’t forget to trim the excess fabric once you’re done.