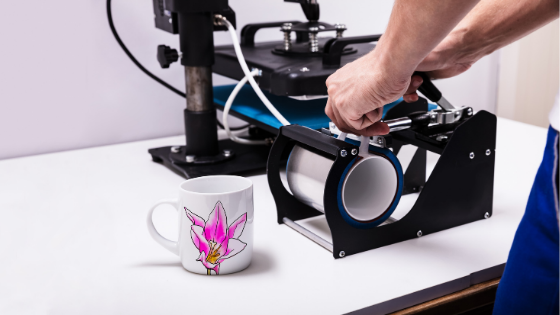
Sublimation is one of the most common methods of printing images and designs on mugs. Let’s discuss first, what sublimation is. It is a process where a special printer, special paper, and special inks are used to create designs to put on all sorts of blank products. A heat press is used to transfer the image or design onto a blank product that is specially coated. The sublimation process works because the special ink can go from solid to gas surpassing the liquid form. If you’re confused – think of dry ice.
Supplies Needed
- Transfer paper
- Sublimation printer and ink
- Blank sublimation mugs
- Mug heat press/Mug wraps
- Heat resistant tape
Method #1: Sublimation with Mug Press

- Create your design and print it on the sublimation printer. Do not forget to mirror the image.
- Line up your design and then use heat resistant tape to tape it into place.
- Set up the mug press machine and then load your mug into the mug press. Keep in mind that the operation of mug presses differs depending on the brand. You can follow the instructions that came with the machine.
- Press the mug with firm pressure according to mug and transfer paper recommendations. You want to make sure that your mug’s handle is not touching the metal edges. There’s too much pressure when the handle touches the metal edges.
- Remove the transfer paper and mug immediately, and don’t forget to use gloves or potholders.
- Place your mug in warm water. You can also cool it off by placing it in front of a fan. This is done to prevent bleeding.
Method #2: Sublimation with Mug Wraps
- Create your design and print it on the sublimation printer.
- Line up your design and then use heat resistant tape to tape it into place.
- Dampen the transfer paper slightly. You can use a towel.
- Place the mug wrap around the mug carefully and not wrinkle the paper. Clamp it closed.
- Bake it in the oven according to the settings required with your transfer paper.
Mugs printed with both methods are washable, dishwasher safe, microwave safe, and can withstand scrubbing.


